All FAQs
Studio One
If you want to use the Warm Audio BUS-COMP to “glue” your mix together or add the character of CineMag transformers, check out the Warm Audio BUS-COMP – Checklist. This is a specialized list for fine-tuning the compression settings on your final output before you “Print” your mix.
Here’s a checklist for using the Lexicon.
There is also a hard copy of this in the Studio One handbook.
Let me know if you have additional questions.
Please see the Mic Signal checklist.
There is also a hard copy in the Studio One handbook.
Let me know if you have questions.
There are a few different ways to do this and few key steps.
Start by making a Copy of your Project so you make sure it’s saved as a package, and also so you can leave the current version on the computer you’re working on as a backup.
- Go to File > Save a Copy As
- Save as a package (not a folder)
- Name the file with “[Song Title] – for mix”
- Close the original project
From the Finder, find the [Song Title] – for mix Logic project file. This is the file you can share by AirDrop, the Network Drive (blue globe on the Dock), or Google Drive.
Advanced Level
If you want to take a look at a full professional approach to sharing a Logic project with another engineer. Check out this video:
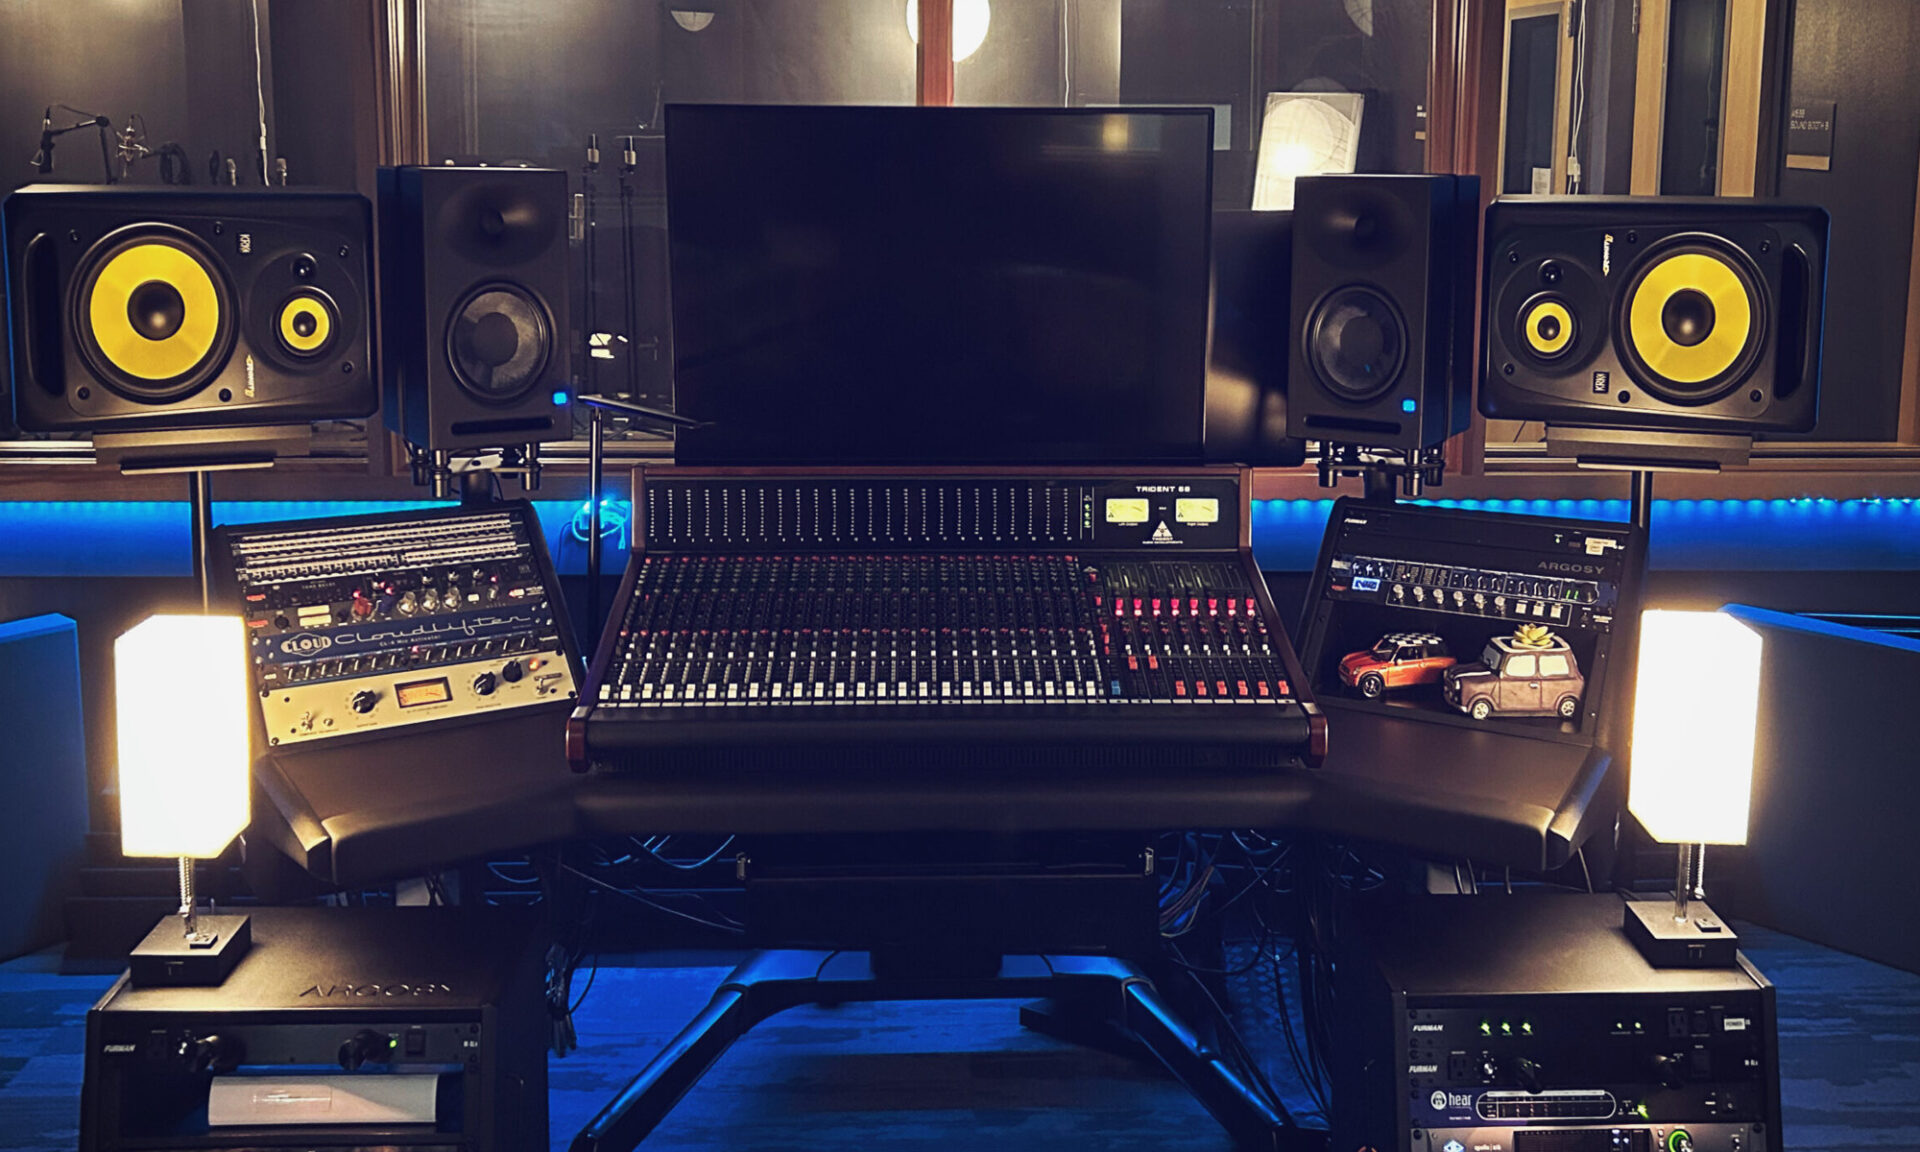
If you have finished your mix and are ready to capture the sound of the Trident 68 and the Apollo converters into a final Stereo File, you need the Mix Print Checklist. This guide covers the specific routing needed to “record” your mix back into Logic Pro while avoiding feedback loops and managing your analog headroom.
Some background info: Why do we call it “Printing” a Mix?
In the modern world of “In-the-Box” mixing, you usually just hit a button called Bounce or Export, and the computer does the work to save a final audio file. In a hybrid studio like ours, we do something called a Mix Print.
- The History: Back in the day, the final mix was played live through the console and recorded (or “printed”) onto a physical piece of 1/4-inch Master Tape. Once it was on the tape, that version of the song was “set in stone” — much like ink printed on a page.
- The Modern Version: Even though we aren’t using tape today, we are still “printing” the sound of the Trident console, the Lexicon effects, and the Warm Audio Bus-Comp back into Logic in real time.
- Why we do it: By “printing” the mix to a new track, you are capturing the unique “soul” of the analog hardware. Once it’s printed, you have a high-resolution stereo file that represents exactly what the console was doing at that moment.
If you want to use the physical outboard gear (like the Lexicon MX200) instead of software plugins, follow the Using Outboard Effects Checklist. This will walk you through using the “Aux Sends” on the console to feed signal from your instrument channel(s) into the hardware and how to properly return those effects back into your mix using the main section on the Triden 68.
At the start of the year, I share all of our studio calendars with you. You have full permission to edit events. That means you have to be a trustworthy professional. Sometimes, due to how Google handles calendar sharing, it’s a problem for DMT creatives.
Google often hides automated invitations in your inbox. If you have been granted permission (if it’s September or later in the school year, the answer is probably “yes, you do have permission”), but don’t see the calendars, follow these steps to get set up and start reserving space.
Step 1: Add the Calendars (Desktop/Laptop)
Open Google Calendar in a web browser, then click the links below to “claim” each room:
- Add A105/06 Studios A/B (Video Production)
- Add A156B Bob White Practice Room
- Add A156C Kirt Mosier Practice Room
- Add Studio One/Control Room
Note: Once you click “Add,” check the left-hand sidebar under “Other calendars” to ensure the box next to the room name is checked.
Step 2: How to Reserve a Room
To make a reservation, you must create the event on the room’s calendar, not your personal calendar (which happens by accident all the time):
- Click + Create in your calendar.
- Click the Calendar Selection dropdown (it usually shows your name by default).
- Select the specific Room Name from the list.
- Name your event (e.g., “Smith – Vocal Tracking”) and Save.
If you create the event on your personal calendar by mistake, other students will not be able to see that the room is occupied!
As always, let me know if you have any additional questions.
I’ve got just the thing to help you out.
There is also a hard copy in the Studio One handbook.
The Studio One handbook is a white binder labeled “Control Room.” It is located on the side table (or occasionally the bookshelf) inside the control room.
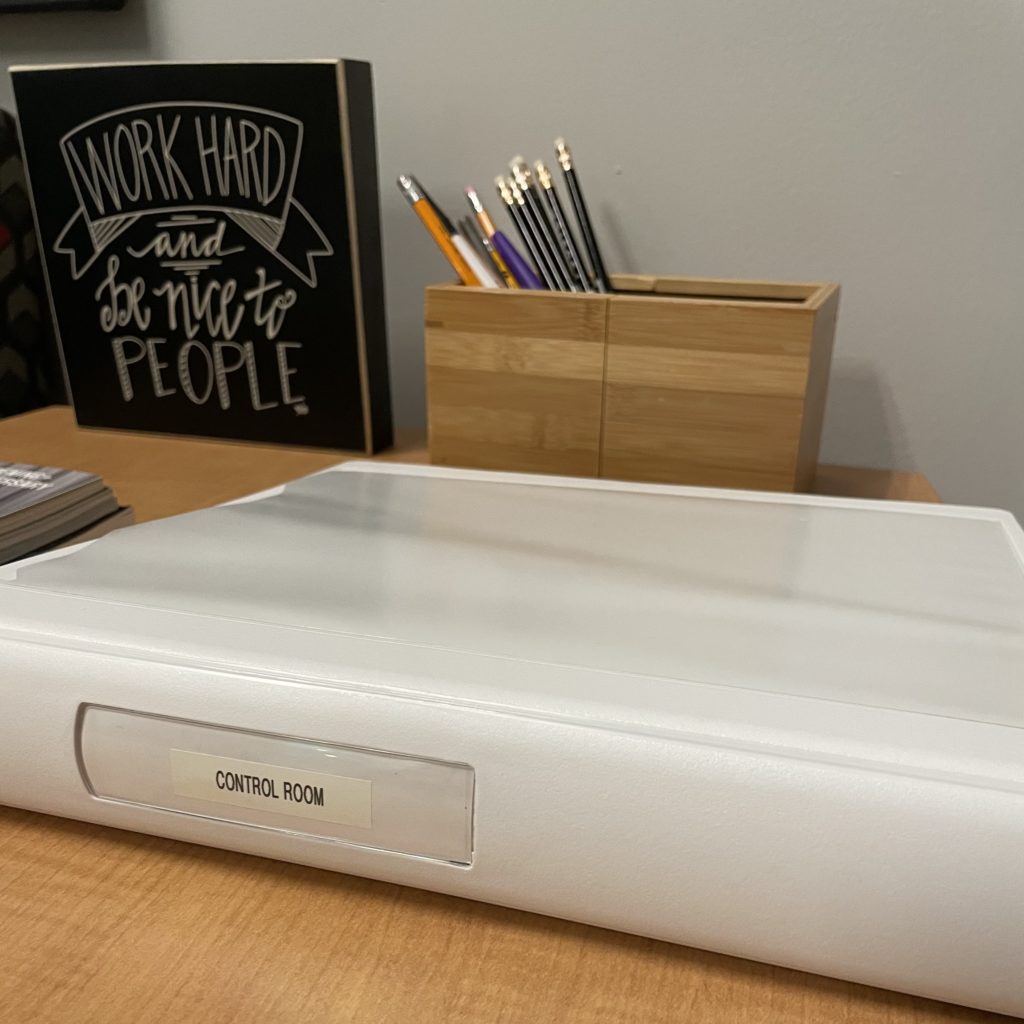
Inside this binder, you’ll find instructions for all the hardware located in Studio One.
There is also a collection of checklists that will be updated and added to occasionally. I may point you to this handbook to answer a question.
This handbook is a reference that you might find useful when setting up a particular microphone or troubleshooting a piece of gear.
If you think of something that needs to be included in the handbook, please let me know!
Mac
I’ve got just the thing to help you out.
There is also a hard copy in the Studio One handbook.
Projects
There are a few different ways to do this and few key steps.
Start by making a Copy of your Project so you make sure it’s saved as a package, and also so you can leave the current version on the computer you’re working on as a backup.
- Go to File > Save a Copy As
- Save as a package (not a folder)
- Name the file with “[Song Title] – for mix”
- Close the original project
From the Finder, find the [Song Title] – for mix Logic project file. This is the file you can share by AirDrop, the Network Drive (blue globe on the Dock), or Google Drive.
Advanced Level
If you want to take a look at a full professional approach to sharing a Logic project with another engineer. Check out this video:
At the start of the year, I share all of our studio calendars with you. You have full permission to edit events. That means you have to be a trustworthy professional. Sometimes, due to how Google handles calendar sharing, it’s a problem for DMT creatives.
Google often hides automated invitations in your inbox. If you have been granted permission (if it’s September or later in the school year, the answer is probably “yes, you do have permission”), but don’t see the calendars, follow these steps to get set up and start reserving space.
Step 1: Add the Calendars (Desktop/Laptop)
Open Google Calendar in a web browser, then click the links below to “claim” each room:
- Add A105/06 Studios A/B (Video Production)
- Add A156B Bob White Practice Room
- Add A156C Kirt Mosier Practice Room
- Add Studio One/Control Room
Note: Once you click “Add,” check the left-hand sidebar under “Other calendars” to ensure the box next to the room name is checked.
Step 2: How to Reserve a Room
To make a reservation, you must create the event on the room’s calendar, not your personal calendar (which happens by accident all the time):
- Click + Create in your calendar.
- Click the Calendar Selection dropdown (it usually shows your name by default).
- Select the specific Room Name from the list.
- Name your event (e.g., “Smith – Vocal Tracking”) and Save.
If you create the event on your personal calendar by mistake, other students will not be able to see that the room is occupied!
As always, let me know if you have any additional questions.
Audio
If you want to use the Warm Audio BUS-COMP to “glue” your mix together or add the character of CineMag transformers, check out the Warm Audio BUS-COMP – Checklist. This is a specialized list for fine-tuning the compression settings on your final output before you “Print” your mix.
Here’s a checklist for using the Lexicon.
There is also a hard copy of this in the Studio One handbook.
Let me know if you have additional questions.
Please see the Mic Signal checklist.
There is also a hard copy in the Studio One handbook.
Let me know if you have questions.
There are a few different ways to do this and few key steps.
Start by making a Copy of your Project so you make sure it’s saved as a package, and also so you can leave the current version on the computer you’re working on as a backup.
- Go to File > Save a Copy As
- Save as a package (not a folder)
- Name the file with “[Song Title] – for mix”
- Close the original project
From the Finder, find the [Song Title] – for mix Logic project file. This is the file you can share by AirDrop, the Network Drive (blue globe on the Dock), or Google Drive.
Advanced Level
If you want to take a look at a full professional approach to sharing a Logic project with another engineer. Check out this video:
If you have finished your mix and are ready to capture the sound of the Trident 68 and the Apollo converters into a final Stereo File, you need the Mix Print Checklist. This guide covers the specific routing needed to “record” your mix back into Logic Pro while avoiding feedback loops and managing your analog headroom.
Some background info: Why do we call it “Printing” a Mix?
In the modern world of “In-the-Box” mixing, you usually just hit a button called Bounce or Export, and the computer does the work to save a final audio file. In a hybrid studio like ours, we do something called a Mix Print.
- The History: Back in the day, the final mix was played live through the console and recorded (or “printed”) onto a physical piece of 1/4-inch Master Tape. Once it was on the tape, that version of the song was “set in stone” — much like ink printed on a page.
- The Modern Version: Even though we aren’t using tape today, we are still “printing” the sound of the Trident console, the Lexicon effects, and the Warm Audio Bus-Comp back into Logic in real time.
- Why we do it: By “printing” the mix to a new track, you are capturing the unique “soul” of the analog hardware. Once it’s printed, you have a high-resolution stereo file that represents exactly what the console was doing at that moment.
If you want to use the physical outboard gear (like the Lexicon MX200) instead of software plugins, follow the Using Outboard Effects Checklist. This will walk you through using the “Aux Sends” on the console to feed signal from your instrument channel(s) into the hardware and how to properly return those effects back into your mix using the main section on the Triden 68.
I’ve got just the thing to help you out.
There is also a hard copy in the Studio One handbook.
The Studio One handbook is a white binder labeled “Control Room.” It is located on the side table (or occasionally the bookshelf) inside the control room.
Inside this binder, you’ll find instructions for all the hardware located in Studio One.
There is also a collection of checklists that will be updated and added to occasionally. I may point you to this handbook to answer a question.
This handbook is a reference that you might find useful when setting up a particular microphone or troubleshooting a piece of gear.
If you think of something that needs to be included in the handbook, please let me know!